

School Cafeteria Pizza Recipe – Easy Homemade School Pizza
This easy School Cafeteria Pizza brings back memories of pizza day. Make a classic rectangular pizza or mini pizzas, perfect for lunchboxes or freezing.
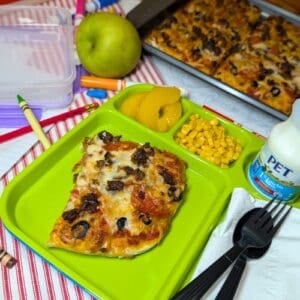
The start of a new school year brings back memories of school lunches, packed lunch boxes, and pizza day in the cafeteria. This easy School Cafeteria Pizza brings back memories of standing in the lunch line, carrying that lunch tray to the table, and knowing you were about to enjoy your favorite school meal.
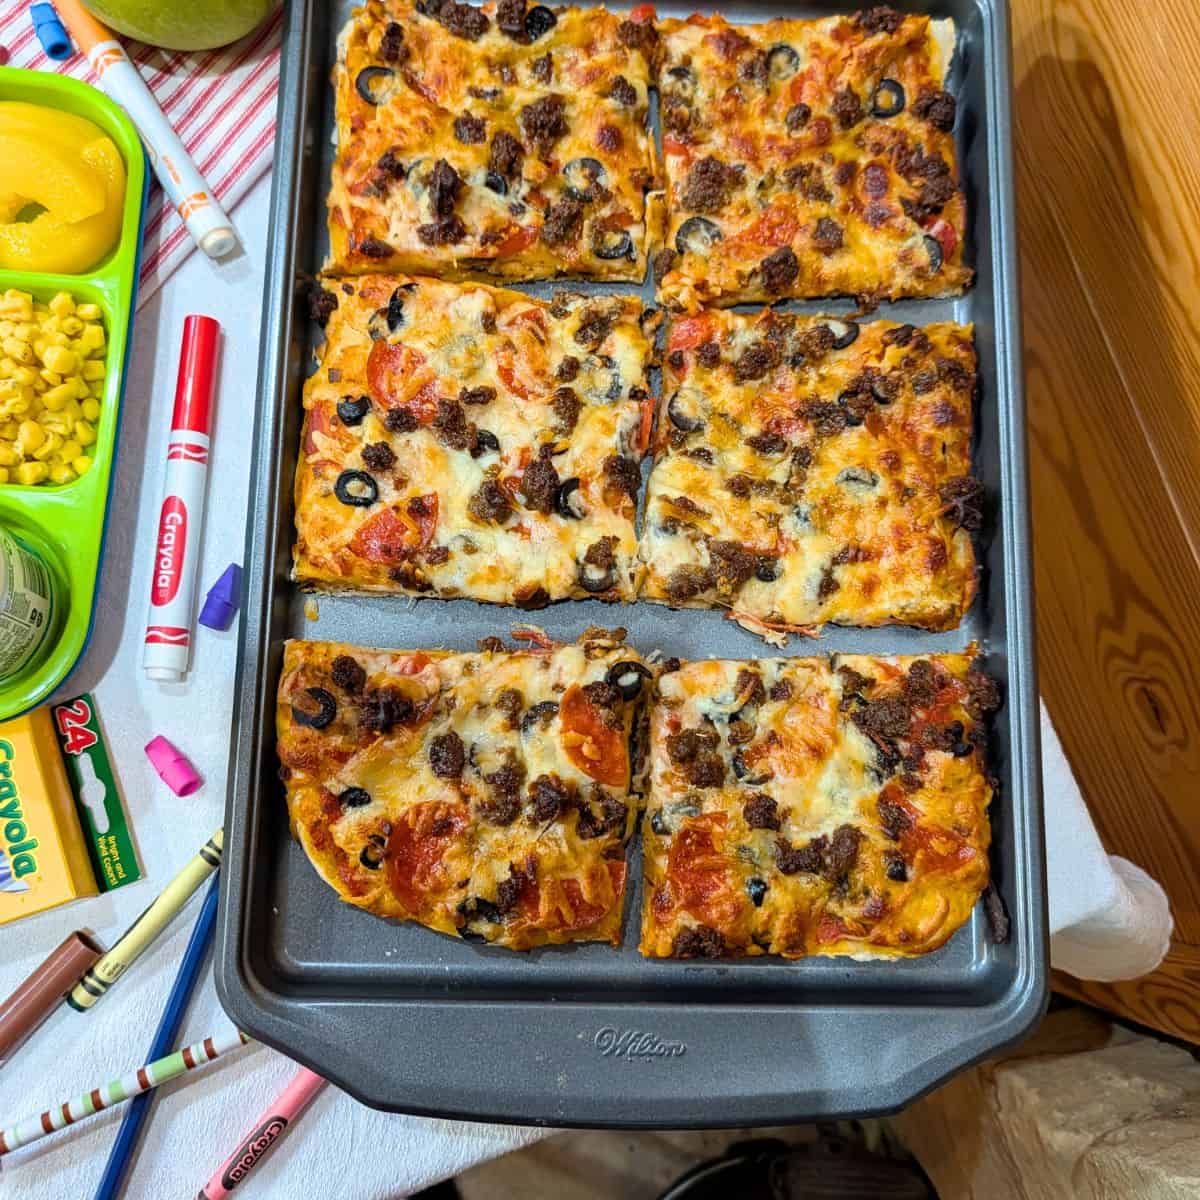
This homemade version isn’t meant to recreate one specific cafeteria’s pizza down to the last bite. Instead, it’s an easy school lunch pizza recipe that brings back that familiar rectangular shape and the fun of pizza day.
For more delicious kid-friendly recipes, check out Oven Chicken Fingers, Easy Mushroom Pizza with Sausage, and Simple Chicken Dumplings Recipe. Both are easy and delicious.
Jump to:
- Quick Look: School Cafeteria Pizza
- Why You’ll Love This School Cafeteria Pizza
- What Makes School Cafeteria Pizza So Special?
- Ingredients Needed
- Recipe Variation
- How to Make School Cafeteria Pizza
- Make Mini Pizzas
- Pizza Topping Ideas
- Tips for Making School Cafeteria Pizza
- How To Store Leftovers
- Recipe FAQs
- What to Serve with School Cafeteria Pizza
- School Cafeteria Pizza
Quick Look: School Cafeteria Pizza
These School Cafeteria Pizzas have a soft, homemade crust and all the nostalgic flavors of pizza day at school. Make one classic rectangular pizza or mini pizzas perfect for lunchboxes, after-school snacks, or an easy family dinner.
⭐ Prep Time: 20 minutes
⭐ Rest Time: 10 minutes
⭐ Cook Time: About 15 minutes
⭐ Method: Stand Mixer + Oven
⭐ Course: Main Course
⭐ Yield: 1 large rectangular pizza or several mini pizzas
Why You’ll Love This School Cafeteria Pizza
- Easy homemade dough: The pizza dough uses simple ingredients and comes together easily in a stand mixer.
- Make it two ways: Roll it into a rectangle for classic cafeteria-style pizza, or cut it into smaller portions for mini pizzas.
- Perfect for lunchboxes: Mini pizzas make a fun homemade addition to a child’s school lunch.
- Freezer-friendly: Make extra mini pizzas and freeze them for a quick meal later.
- Customize the toppings: Use cheese, pepperoni, sausage, ground beef, ham, or whatever your family enjoys.
- Great for families: This easy homemade pizza recipe lets kids help make it. This is also a great way to have homemade pizza ready for those busy school nights when everyone seems to be going in a different direction.
Homemade bread is easier to make than you can imagine. Here are a few of my favorites. The best cranberry orange bread recipe, apple cinnamon bread, and my fluffy southern biscuits are all family favorites.
What Makes School Cafeteria Pizza So Special?
School cafeteria pizza wasn’t fancy pizza, and that was part of its charm. It was usually rectangular, baked in a large pan, cut into squares, and served on a school lunch tray.
School pizza comes in plenty of versions, depending on when and where you went to school. Some had sausage, some had ground beef, some were loaded with cheese, and others were kept simple.
Ingredients Needed
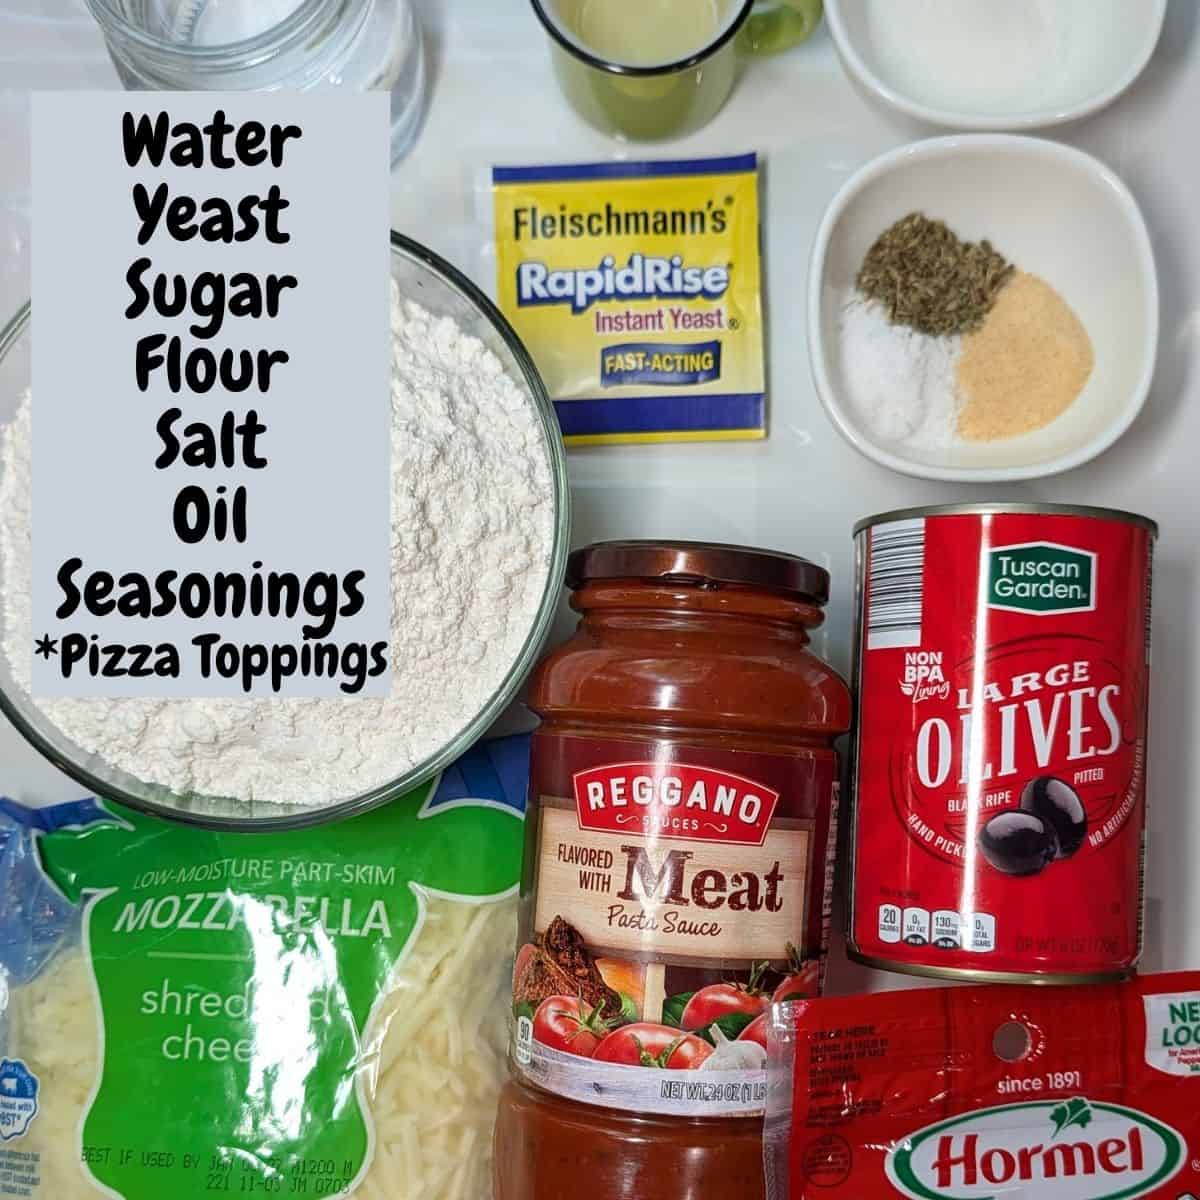
- Warm water: Warm water helps activate the yeast. Aim for about 110°F.
- Rapid-rise yeast: Rapid-rise yeast makes this homemade pizza dough quick and easy to prepare.
- Sugar or honey: A little sweetness helps feed the yeast and adds flavor to the dough.
- All-purpose flour: Regular all-purpose flour works perfectly for this pizza dough. You may need a few extra tablespoons when mixing and shaping.
- Salt: Salt adds flavor to the crust.
- Oil: A little oil helps give the dough a tender texture.
- Italian seasoning: Italian seasoning adds a little extra flavor to the pizza dough.
- Garlic powder: Garlic powder gives the crust a subtle savory flavor.
- Pizza sauce or pasta sauce: Use your favorite pizza sauce, or even pasta sauce if that’s what you have on hand.
- Mozzarella cheese: Shredded mozzarella melts beautifully and gives you that classic cheesy pizza topping.
- Favorite toppings: Pepperoni, cooked sausage, ground beef, ham, mushrooms, black olives, pineapple, or any other toppings your family enjoys.
Recipe Variation
- Pepperoni School Pizza: Add pepperoni for a classic school pizza everyone will love.
- Sausage Pizza: Top the pizza with cooked sausage and mozzarella for a hearty version.
- Meat Lovers Pizza: Combine cooked sausage, pepperoni, ground beef, and ham.
- Cheese Pizza: Keep things simple with plenty of pizza sauce and mozzarella cheese.
- Mini Lunchbox Pizzas: Make smaller pizzas with simple toppings for an easy homemade school lunch.
How to Make School Cafeteria Pizza
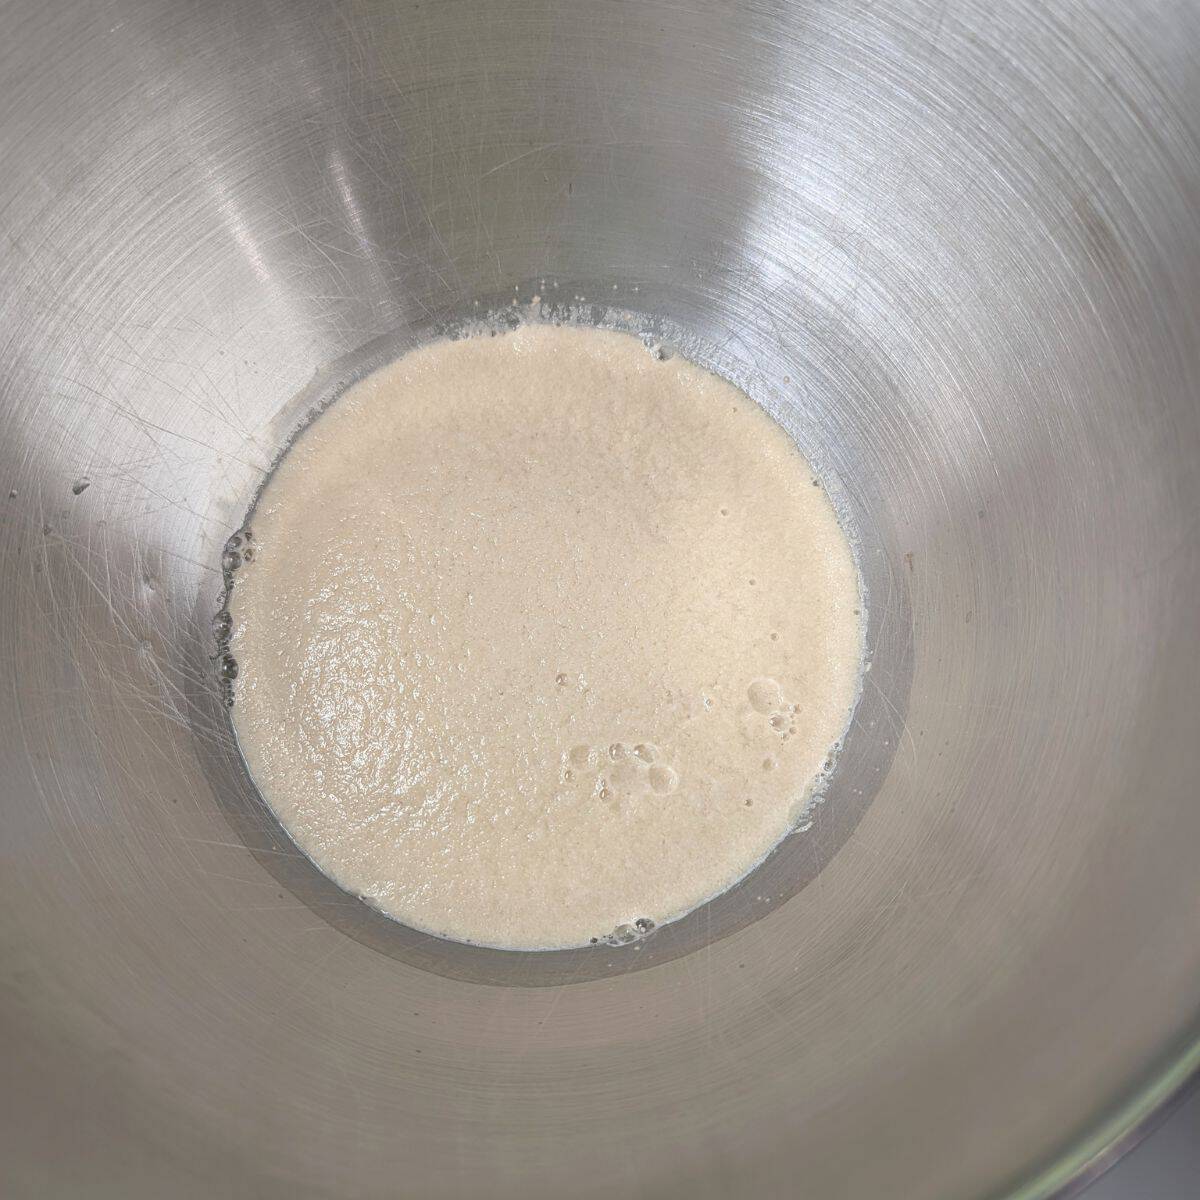
Step 1: Activate the yeast. Add the yeast and sugar to the bowl of a stand mixer. Pour in the warm water and gently stir. Let the mixture sit for 10 minutes, or until the yeast becomes foamy.
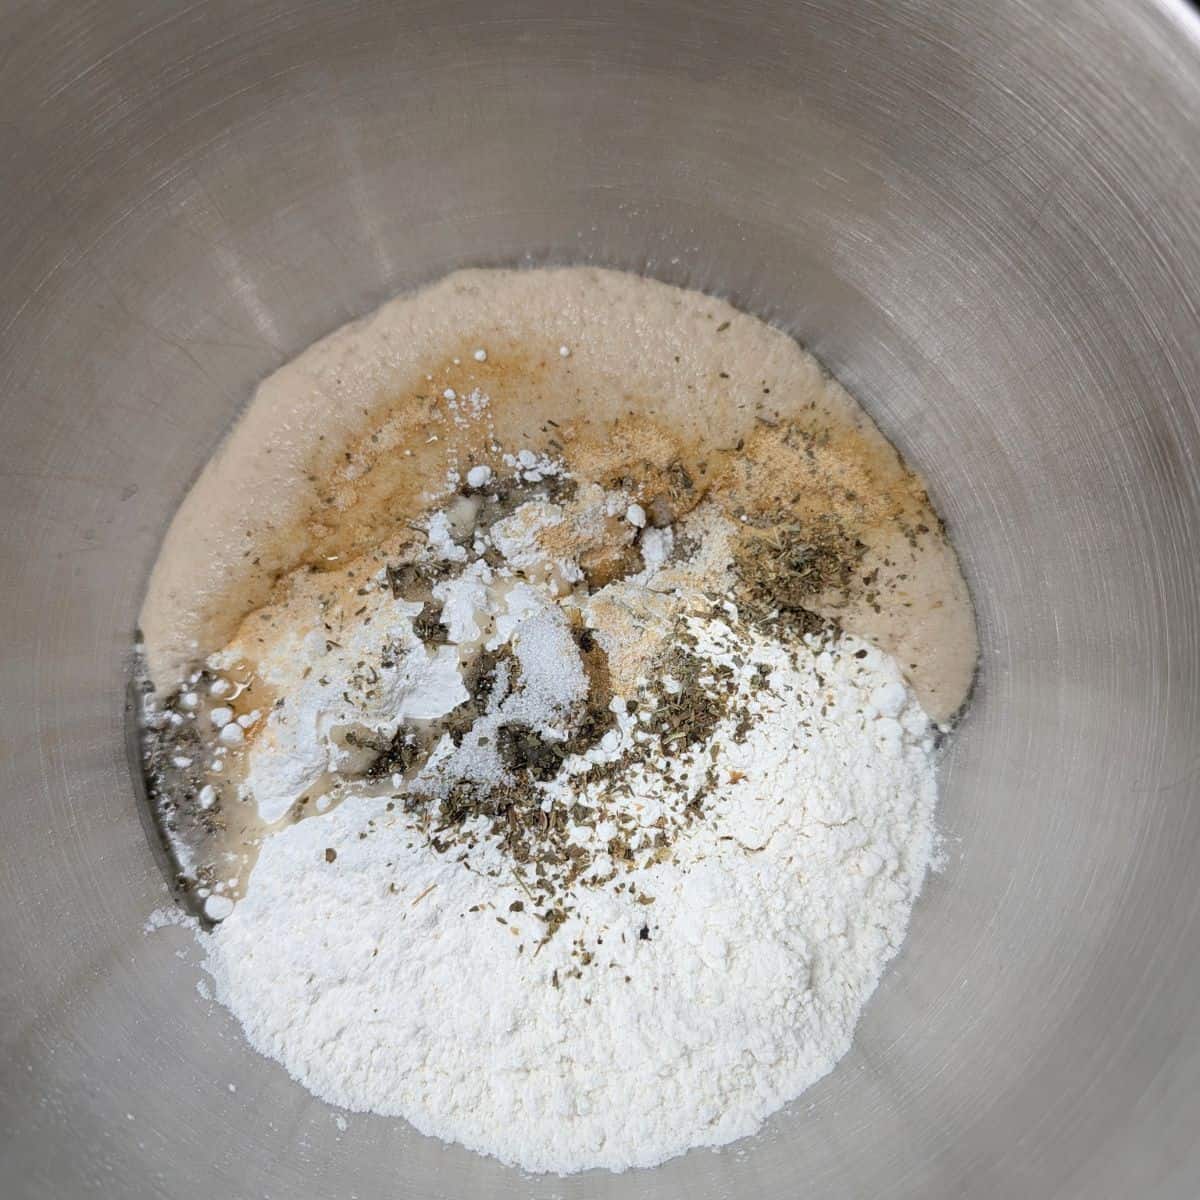
Step 2: Make the dough. Add the 2 1/2 cups of flour, salt, oil, and seasonings to the yeast mixture.
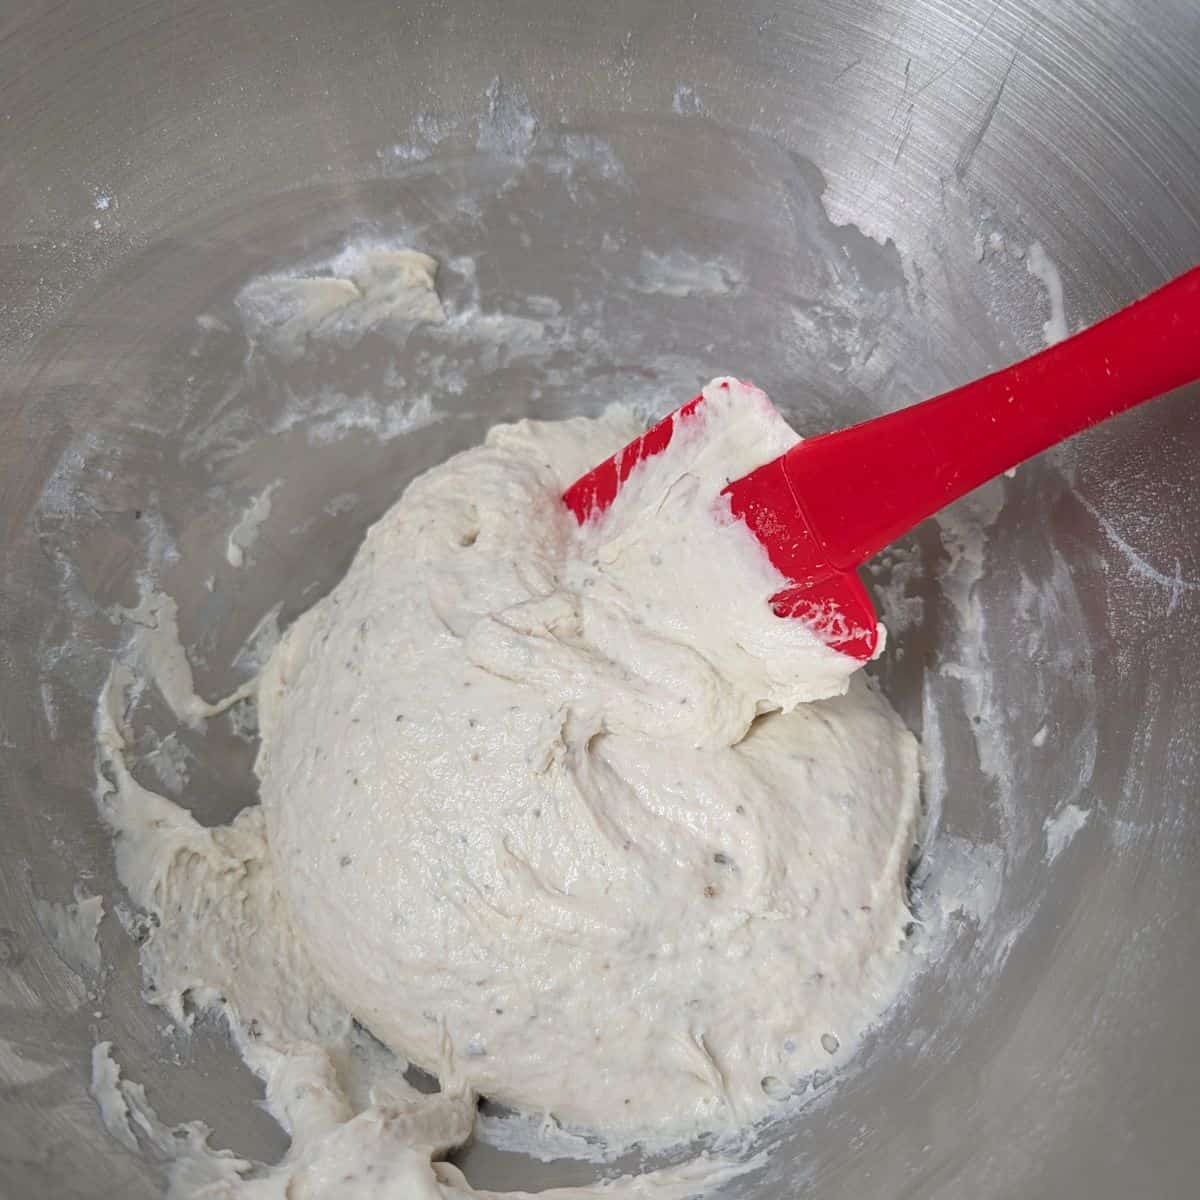
Step 3: Knead the dough. Attach the dough hook and mix until the dough comes together and begins pulling away from the sides of the bowl. At this point, I usually start adding the extra flour, 1 Tablespoon of flour, mix, and repeat until all the flour is incorporated. Continue mixing for about 5 minutes. The dough will be sticky. See recipe notes.
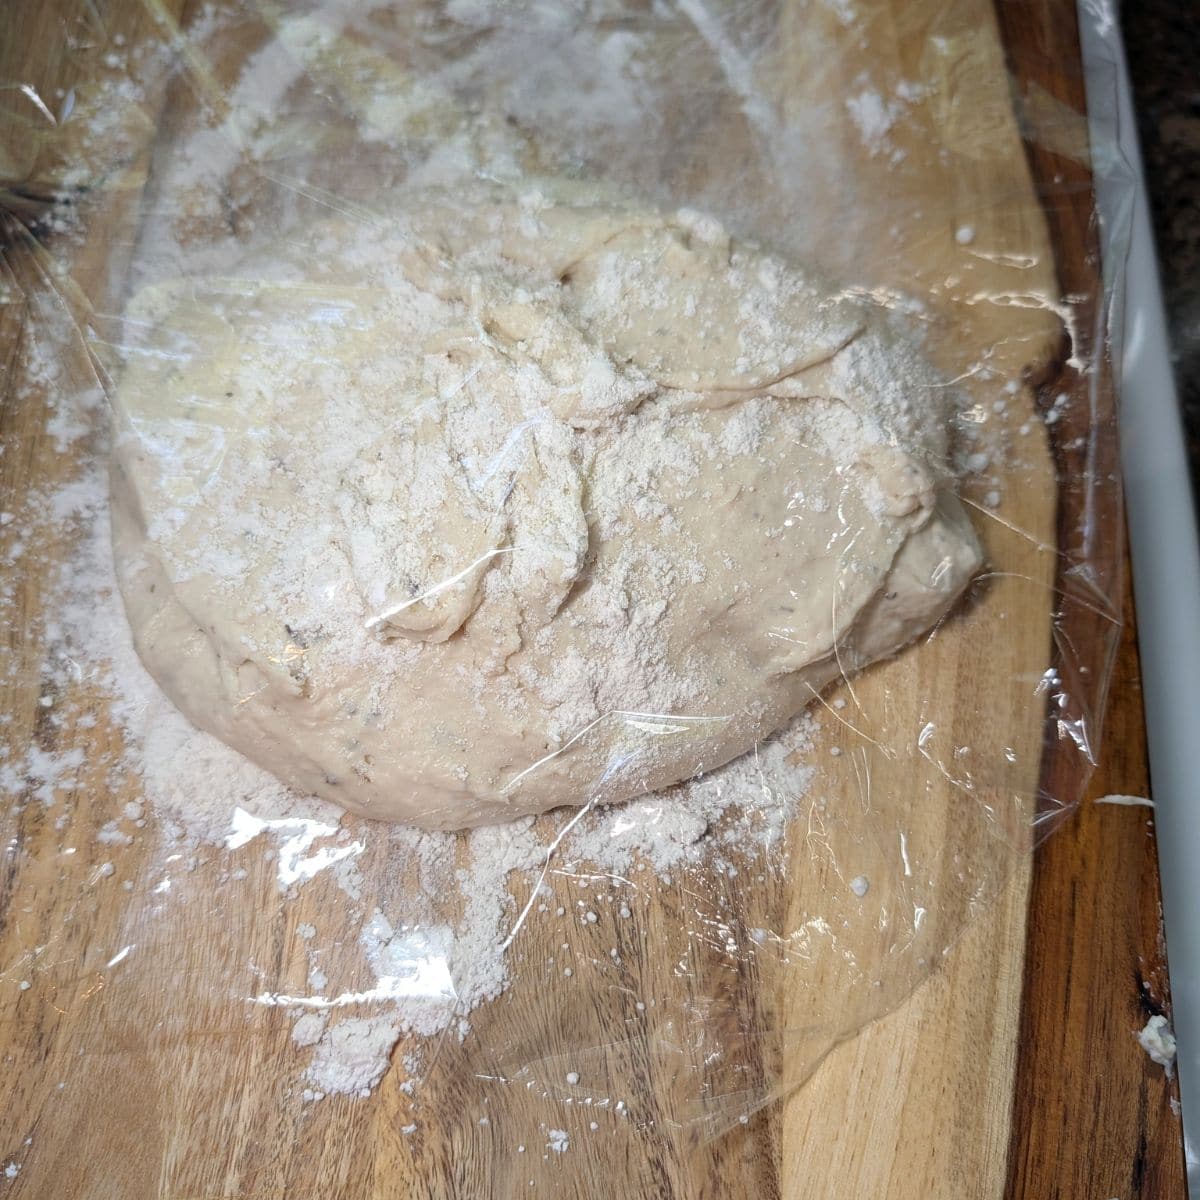
Step 4: Let the dough rest. Transfer the dough to a floured surface. Sprinkle more flour over the top, then cover the top lightly with plastic wrap and let it rest for 10 minutes. Flour your hands well, then shape into a ball.
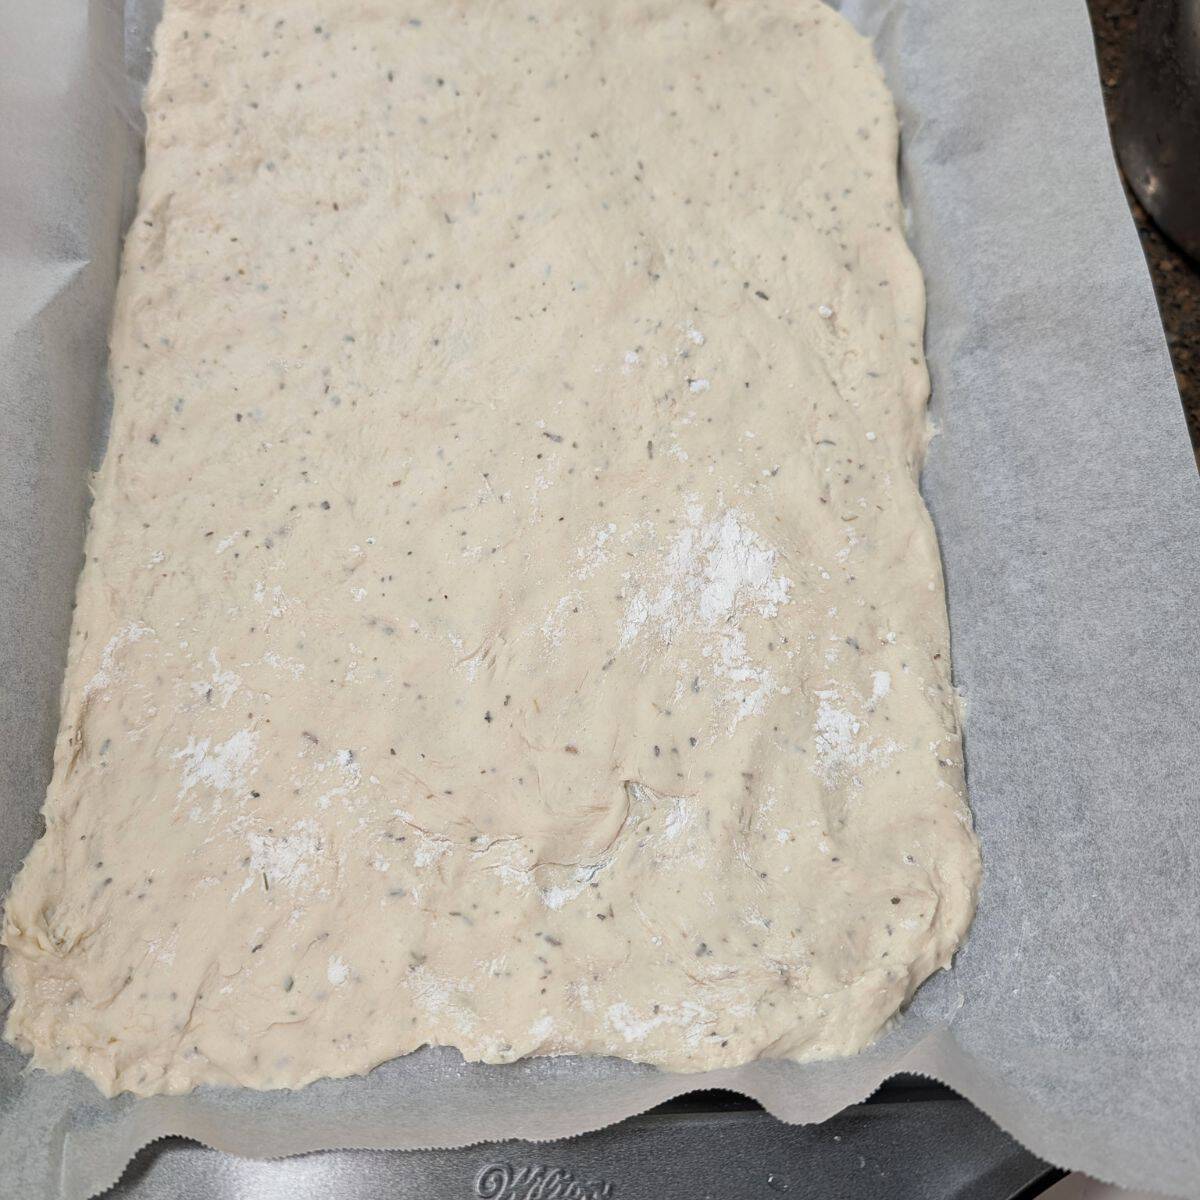
Step 5: Shape the pizza. See recipe notes. Place the dough on a parchment paper lined pan and roll or use your hand to shape the dough into a rectangle for one large pizza, or divide it into smaller portions and roll each portion into a mini pizza. Don’t be afraid to use more flour to make your dough workable and less sticky.
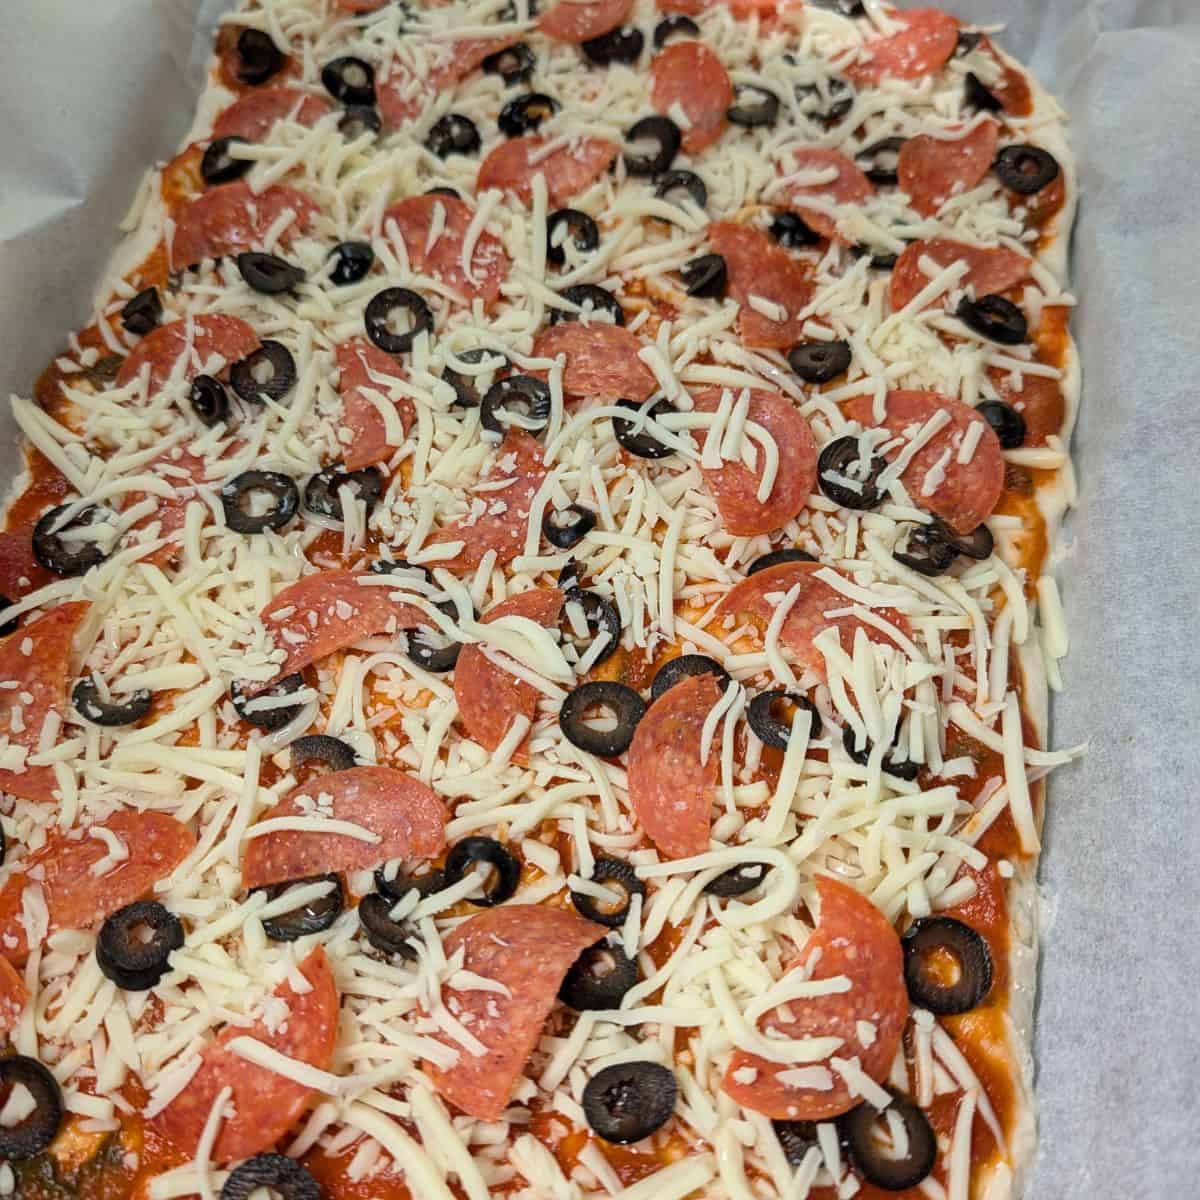
Step 6: Add the toppings. Spread a thin layer of pasta sauce or pizza sauce over the dough. Top with cheese and your favorite toppings, then drizzle lightly with oil.
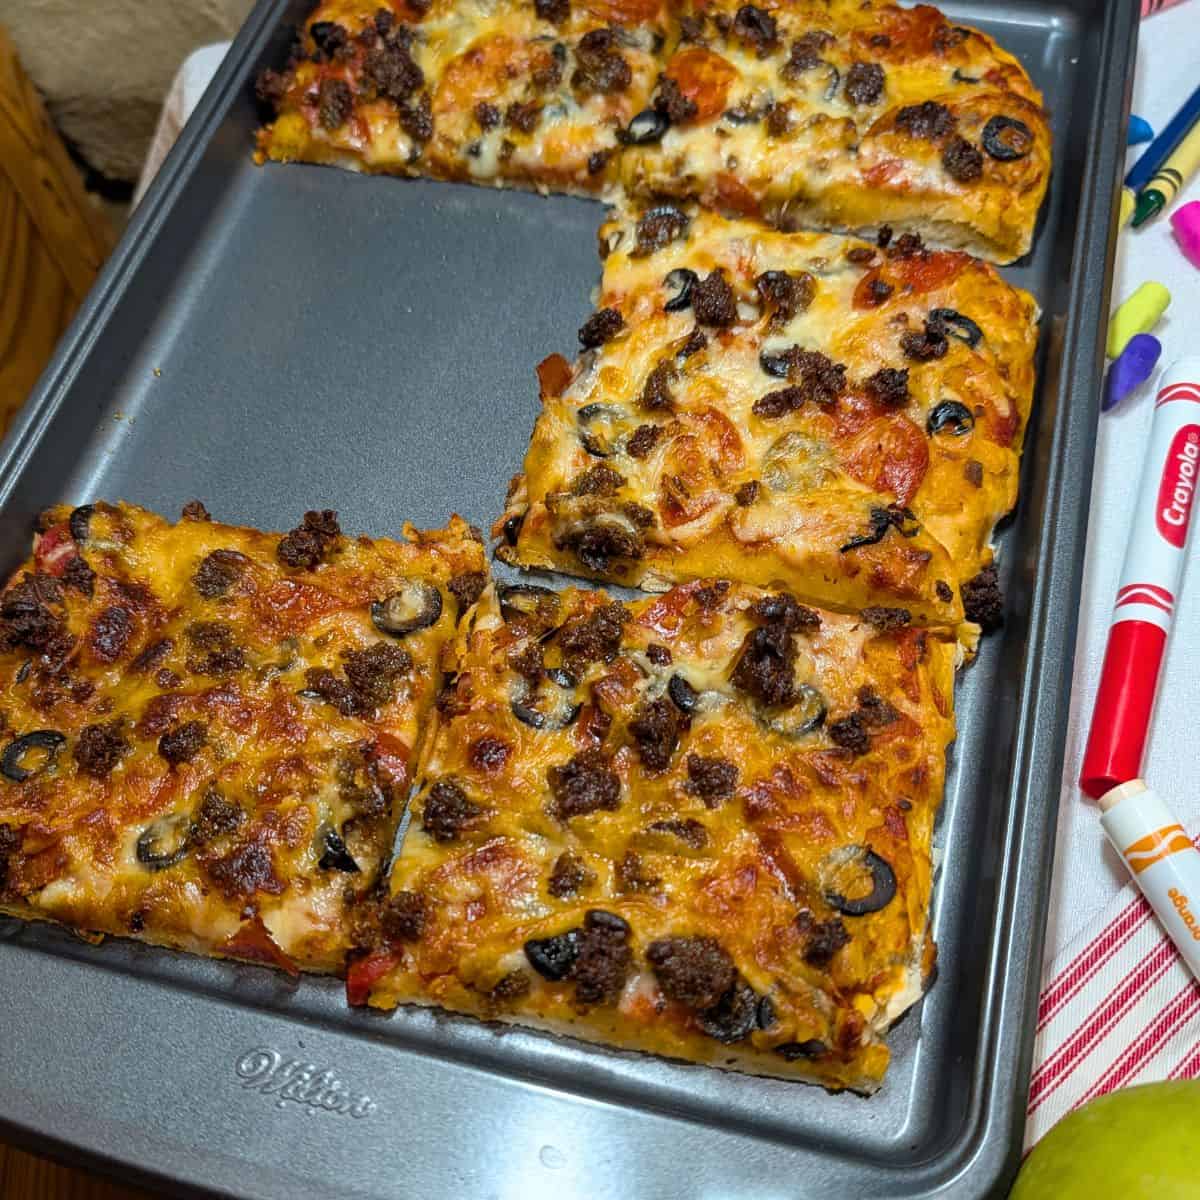
Step 7: Freeze or bake. To freeze the mini pizzas, flash-freeze them until firm, then transfer them to a freezer-safe bag or container. To bake, place the pizza in a 400°F oven and bake for about 15 minutes, or until the crust is cooked through and the cheese is melted to your liking.
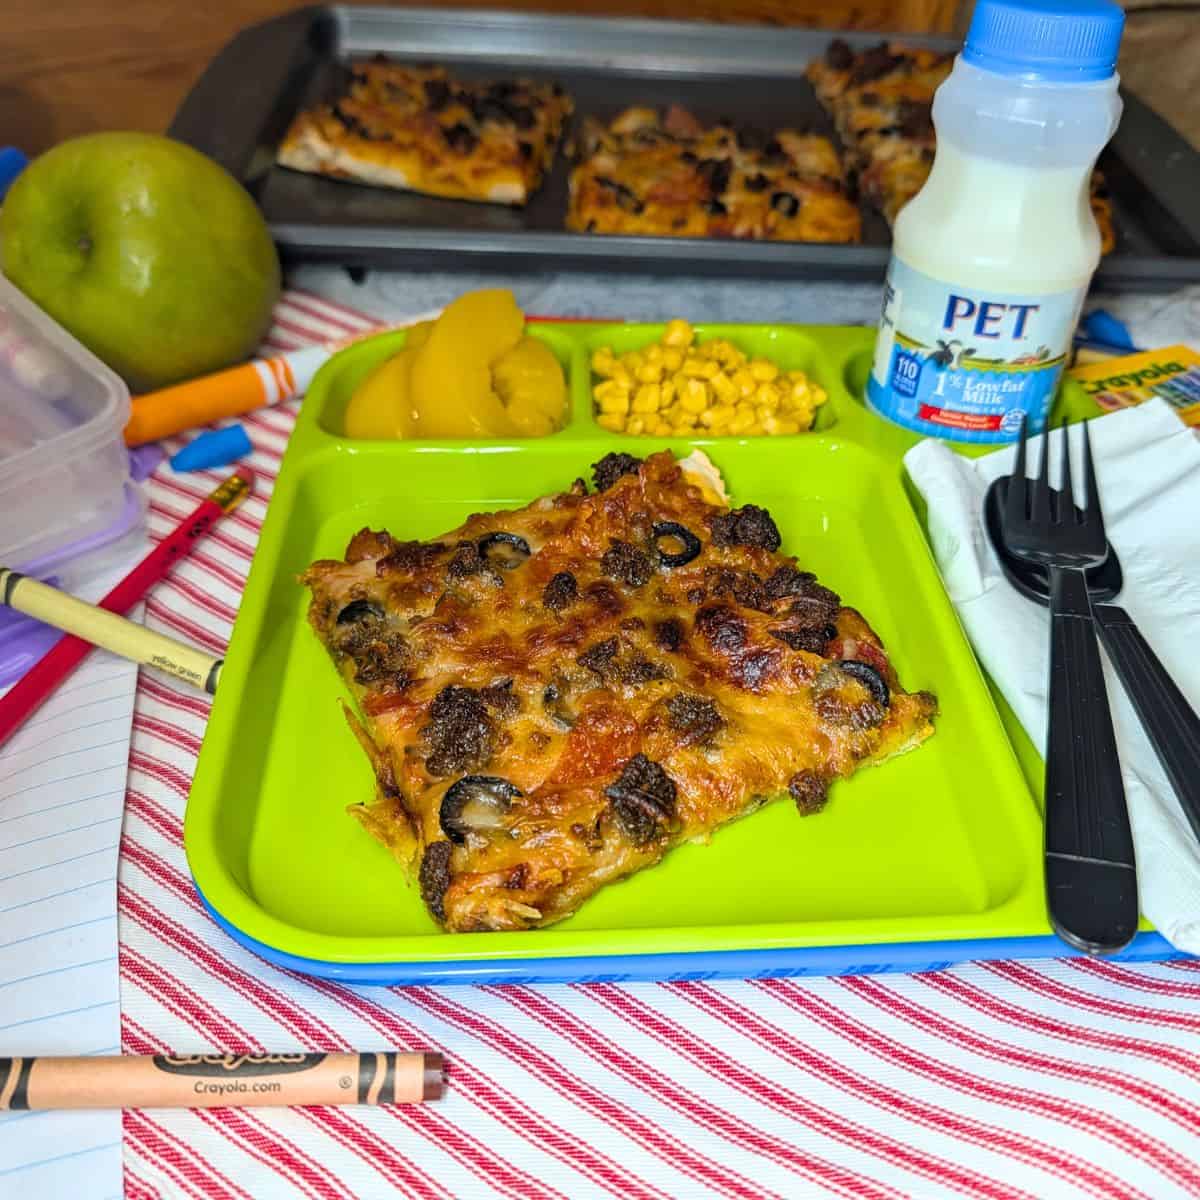
Step 8: Serve and Enjoy! Cut into squares or rectangles.
Recipe Notes:
*When mixing, if your dough is very sticky and not pulling away from the sides of the bowl, add a little more flour, about a tablespoon at a time, until it starts to pull away. I usually add 2-3 tablespoons. The dough will be sticky.
* When shaping my dough, I also like to add a little flour to my work surface so the dough doesn’t stick to the surface or my fingers when I’m rolling it out. I like to rub my hands with flour, sprinkle more over the top and work surface as needed. Trust the process.
Make Mini Pizzas
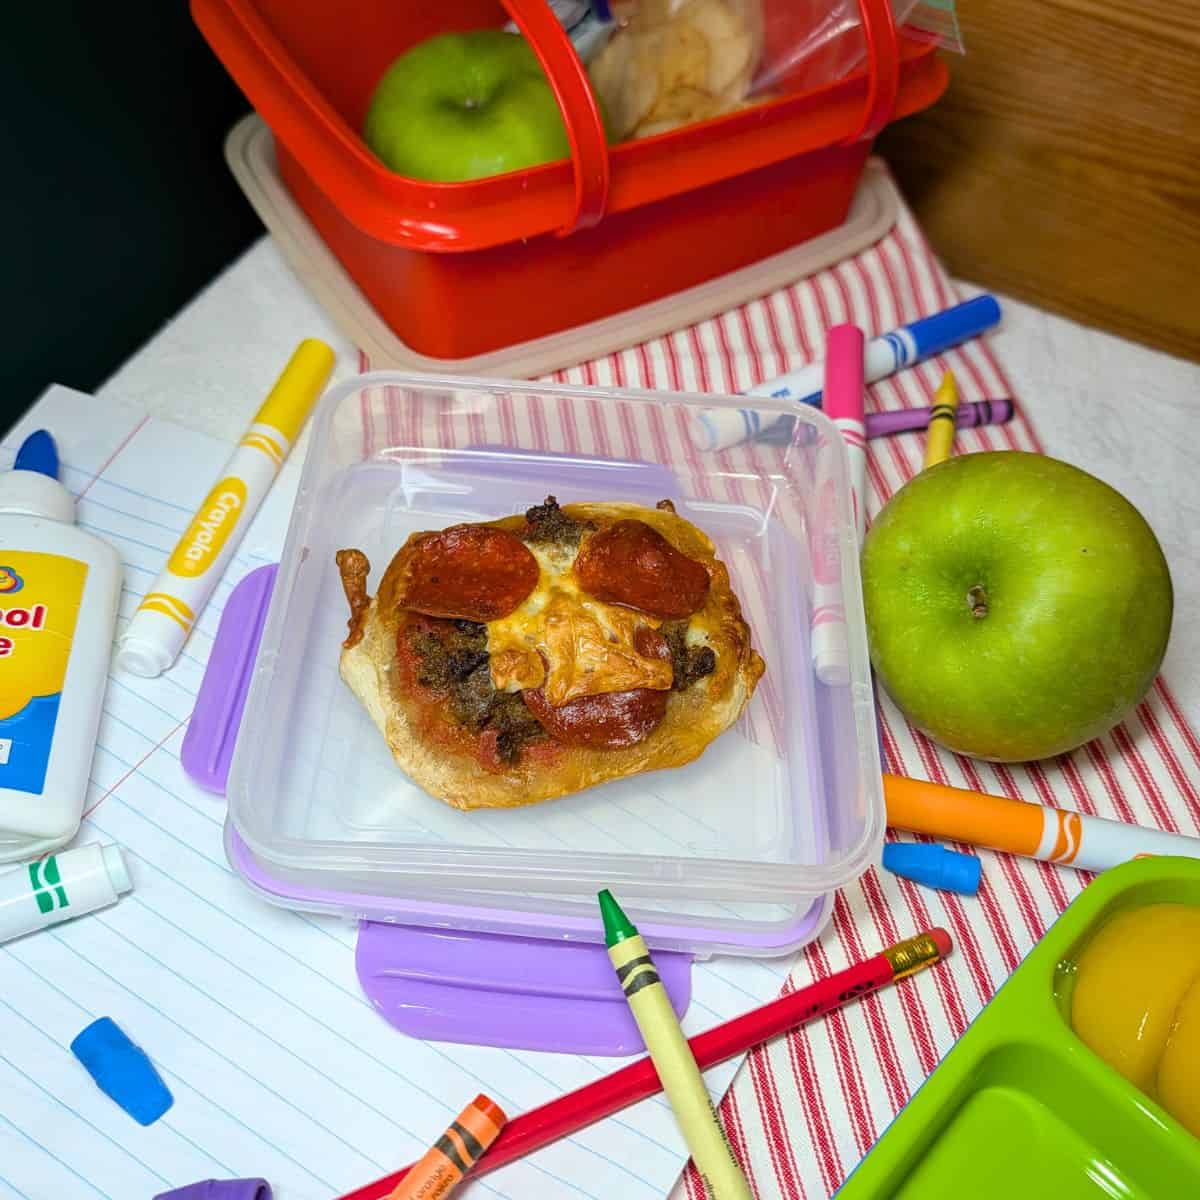
Mini pizzas are perfect for an easy family dinner, after-school snacks, or packing in a lunchbox.
You can divide the same dough into smaller portions to make individual or mini pizzas. Roll each portion into a small circle or oval, place them on a parchment paper-lined baking sheet, and add your sauce, cheese, and toppings.
To Prep Ahead: Flash-freeze the pizzas until firm, then transfer them to a freezer-safe bag or container. When you’re ready for pizza, simply bake the mini pizzas straight from frozen for a quick homemade meal.
Pizza Topping Ideas
There are no rules when it comes to the toppings. Keep it simple or load it up with your family’s favorites.
- Pepperoni
- Cooked ground beef
- Cooked sausage
- Diced ham
- Mozzarella cheese
- Black olives
- Mushrooms
- Pineapple
- Bell peppers
- Onions
For the most nostalgic school cafeteria pizza, keep the toppings simple with sauce and plenty of melted cheese.
Tips for Making School Cafeteria Pizza
How To Store Leftovers
- Fridge: Store leftover pizza in an airtight container in the refrigerator for up to 3-4 days.
- Freezer: For longer storage, freeze individual pizza slices in a freezer-safe container or bag. Place parchment paper between the slices if needed to keep them from sticking together. Bake from freezer to oven- just add a few extra minutes.
Recipe FAQs
Yes. You can mix the dough by hand, although a stand mixer with a dough hook makes the process easier. Mix until the dough comes together, then knead it by hand until it becomes smooth and workable.
Absolutely. Pasta sauce works well if that’s what you have on hand. Use a thin layer so the pizza doesn’t become soggy.
Yes. Divide the dough into smaller portions and roll each portion into a mini pizza. They’re perfect for lunchboxes, snacks, or freezing for later.
Yes. You can freeze baked pizza or prepare the mini pizzas, flash-freeze them, and store them in a freezer-safe bag or container to bake later.
This is a soft dough, so some stickiness is normal. If the dough is very sticky and isn’t pulling away from the sides of the mixing bowl, add flour one tablespoon at a time until it starts pulling away. Also flour your hands and work surface when shaping the dough.
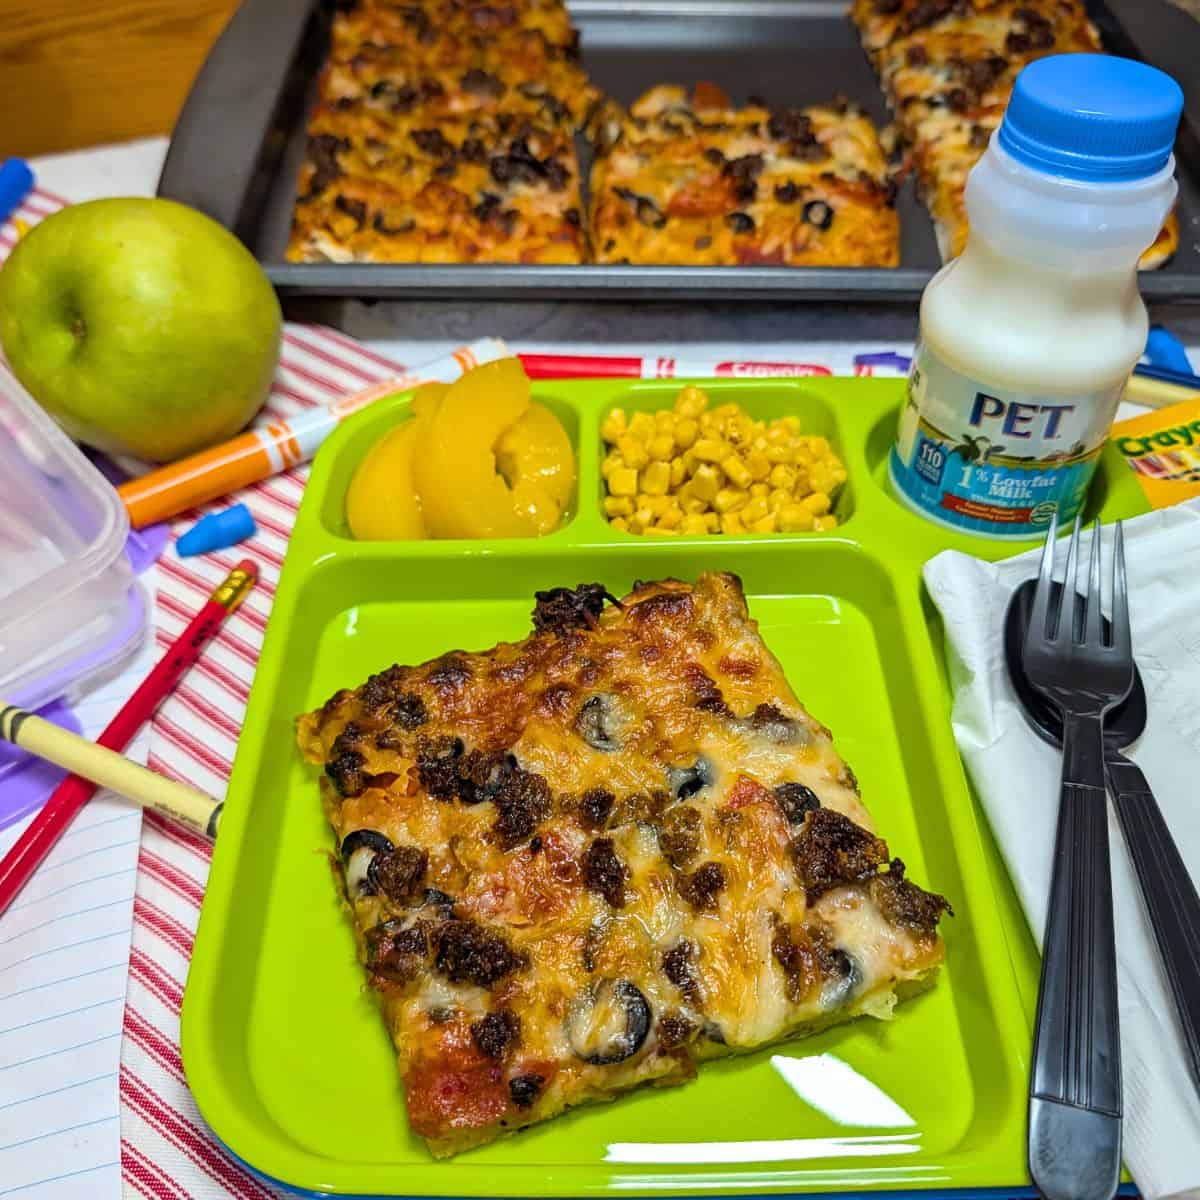
What to Serve with School Cafeteria Pizza


If you tried this School Cafeteria Pizza or any other recipe on my blog, please consider leaving a 🌟 star rating and let me know how it went in the comments below. Thanks for visiting!
School Cafeteria Pizza
Ingredients
- 1 cup Warm Water about 110°F
- 1 packet Rapid Rise Yeast
- 1 tablespoon Sugar or Honey
- 2 1/2 cups All Purpose Flour plus 3 Tablespoons, plus more for shaping.
- 2 teaspoons Salt
- 2 Tablespoons Oil
- 1 teaspoon Italian Seasoning
- 1 teaspoon Garlic Powder
- Favorite Pizza Toppings
Instructions
- Activate the yeast. Add the yeast and sugar to the bowl of a stand mixer. Pour in the warm water and gently stir. Let the mixture sit for 10 minutes, or until the yeast becomes foamy.
- Make the dough. Add the 2 1/2 cups of flour, salt, oil, and seasonings to the yeast mixture.
- Knead the dough. Attach the dough hook and mix until the dough comes together and begins pulling away from the sides of the bowl. At this point, I usually start adding the extra flour: 1 Tablespoon of flour, mix, and repeat until all the flour is incorporated. Continue mixing for about 5 minutes. The dough will be sticky. See recipe notes.
- Let the dough rest. Transfer the dough to a floured surface. Sprinkle more flour over the top, then cover the top lightly with plastic wrap and let it rest for 10 minutes. Flour your hands well, then shape into a ball.
- Shape the pizza. See recipe notes. Place the dough on a parchment paper lined pan and roll or use your hand to shape the dough into a rectangle for one large pizza, or divide it into smaller portions and roll each portion into a mini pizza. Don't be afraid to use more flour to make your dough workable and less sticky.
- Add the toppings. Spread a thin layer of pasta sauce or pizza sauce over the dough. Top with cheese and your favorite toppings, then drizzle lightly with oil.
- Freeze or bake. To freeze the mini pizzas, flash-freeze them until firm, then transfer them to a freezer-safe bag or container. To bake, place the pizza in a 400°F oven and bake for about 15 minutes, or until the crust is cooked through and the cheese is melted to your liking.
Notes
- Don’t worry if the dough is sticky. This dough is meant to be soft and sticky. Add flour a tablespoon at a time as needed until it becomes easier to work with.
- Flour your hands. When shaping the dough, lightly flour your hands and work surface. This makes handling the dough much easier.
- Don’t add too much flour at once. It’s tempting to keep adding flour when the dough feels sticky, but adding a little at a time helps keep the crust tender instead of heavy.
- Use parchment paper. Parchment makes the sticky dough easier to work with and simplifies cleanup.
- Don’t skip the resting time. Even though this recipe is simple, letting the dough rest for a few minutes makes it easier to shape.
- Watch the pizza toward the end of baking. Every oven is different, so start checking around the 15-minute mark. You want the crust cooked through and the cheese melted.
My family loves pizza night. This is an easy dough recipe. I just add a little flour if it starts to feel sticky. It is easy to customize with our favorite toppings.